15 March, 2016
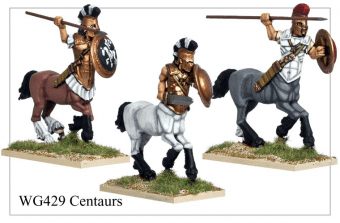
So, as some of you can tell, I’ve been working on the Herd, and playing some test games on Universal Battles. One of the things I lack models for in this army is the centaurs. I have 6 Wargames Foundry centaurs, (Pictured below) but was not fond of the exceptionally Greek look to them. The rest of my herd, for the most part, has come from my old WHFB Beastmen, and wanted to keep my centaurs in theme with that.
I started digging through my rather extensive bits box, (Okay, It’s actually 6 rather large totes and three workbench multi-drawer organizers.) to find some pieces to build my own. The first thing I was looking for was the main body. With 28mm heroic scale, the horse bodies need to be fairly large, but a bit smaller than many of the normal GW horses. For the horses I have on hand in the bits collection, I have armored horses of the type normally used for Empire knights, and older chaos knights, I have only 5 of the newest chaos knights, so those are out, I have about 25-30 Riders of Rohan horses, which I thought might fit the bill, about 50 plus of the standard, un-barded GW horses used for Bretonnian serf cavalry, Kislev Cavalry, and old pistoliers, about 25 of the older Bretonnian barded steeds, and a battalion box set plus worth of the newer Bretonnian barded steeds, About 20 or more of the older elf horses (used for dark riders, Elyrrian Reavers, and the like,)around 15-20 of the wood elf steeds that came out with the Wood Elf army book in 2005, and a bunch of Wargames Factory horses intended for my Celtic army whenever I get around to doing it. Comparing all of these horse types, I settled on the Wood Elf steeds, as a) I liked the proportions, b) the neck join wasn’t too wide or difficult to work with, and c) the most important, the saddle was not too pronounced.
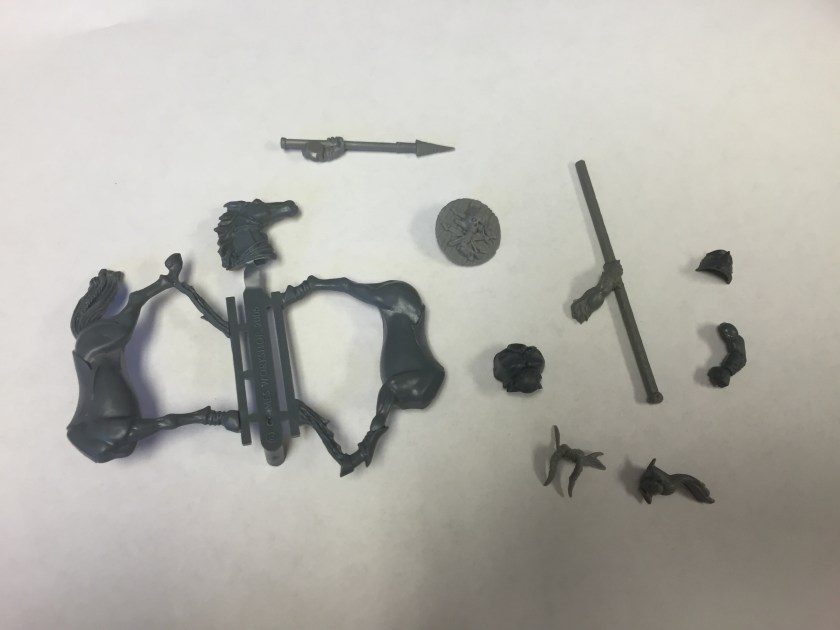
The next piece I needed to decide on was the human torso. Again, I have a lot of choices. My first thought was to go with the WF Celtic torsos, but putting them up to the horses, it was obvious they would be way too small. The next thought I had was all the stupid 6th edition multi-part goblins and night goblins I have collecting dust, but they just didn’t seem right either. To really meet the theme, my next idea was gors or ungors form the 6th edition plastic beastmen sprues, but the bodies are all one piece models with torsos and legs connected, and I didn’t want to do that much cutting for something that might not work. I looked then at men of the empire, and they were close, but still just a tad small. Finally I looked at my chaos marauder sprues, and the torsos there just seemed to fit the bill excellently. For heads, I decided on gor heads for the longmane centaurs and ungor heads for the bray hunters. Finally arms, with as beefy as the torsos are, the obvious choice is either gor or marauder arms, or, in this case, both. I wanted my longmanes to be lancers, so opted for a bunch of both marauder and gor standard bearer arms. For the off hand, I also went with gor and marauder arms and gor shields. The final Item I would need is lance heads, so I turned back to the goblin sprues and quickly grabbed a bunch of spear arms.
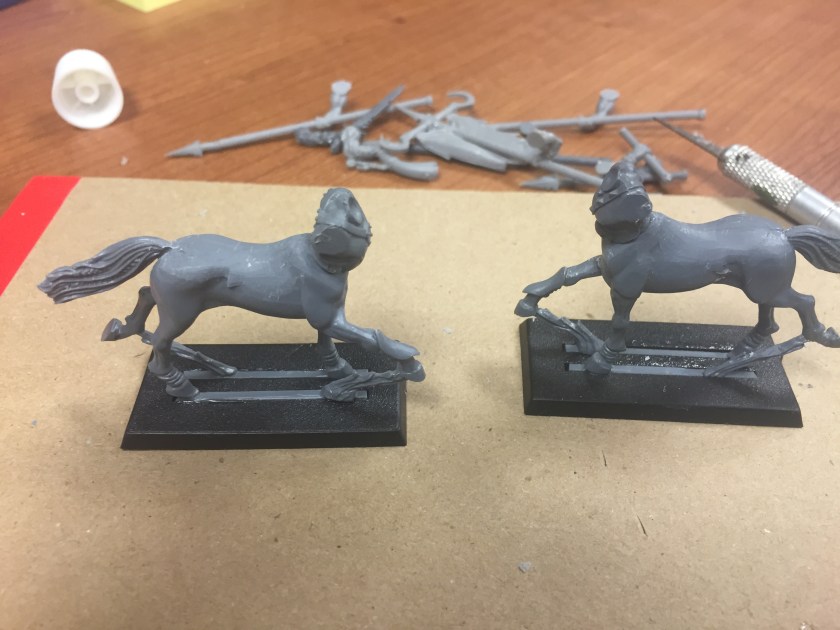
The first step, and also the most labor intensive was assembling the horse bodies. I have it in my mind that my centaurs are not domesticated, therefore they must not have any trappings of servitude. In other words, I needed the saddles gone. Here you can see the saddle of the horse body.
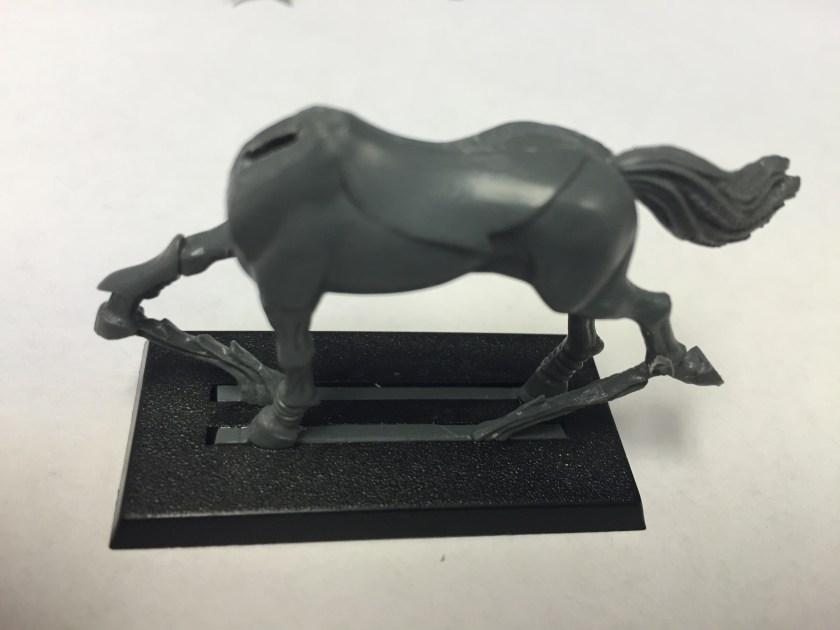
Removing the saddle took a combination of x-acto work and some filing using needle files. The toughest bit to shave down/remove is the point just above the tail, and the dag just where the ribs end and the belly section begins. I elected to leave the foreleg greaves on as any combat centaur worth his salt would probably protect that part of him. Once the body is completely shaved, it’s time to move on to the next piece.
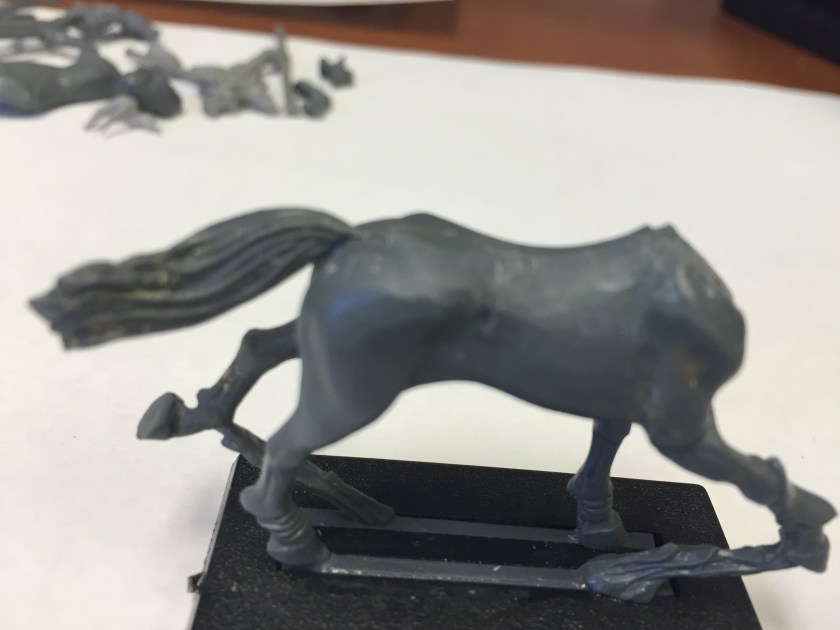
With the horse bodies ready, it’s time to add the human torsos. The torsos need their standard flask removal, and the models generally have a slight overhang for their belt buckles in the front. The over lap of the buckles must be removed and smoothed out as well, or the torso won’t sit properly. (In the picture, you can see I missed the dag on the left horse, I went back and shaved it down when I realized.)
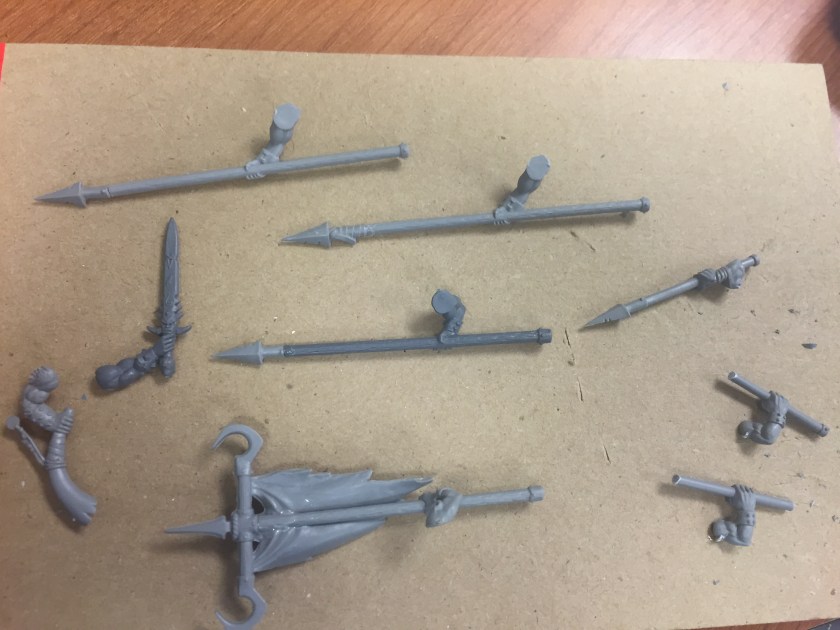
With plastic cement, you need to let the joins sit for a while, so I started work on cleaning the arms while I waited. I carefully removed the spear heads from the goblin spear, and glued them onto the flattened tops of the banner poles to create large, vicious looking lances. I also went with a standard and champion arm from the marauders, and a horn arm from the gors to add command models. These are not essential in KoW 2nd edition, but I still think it adds something to the regiment.
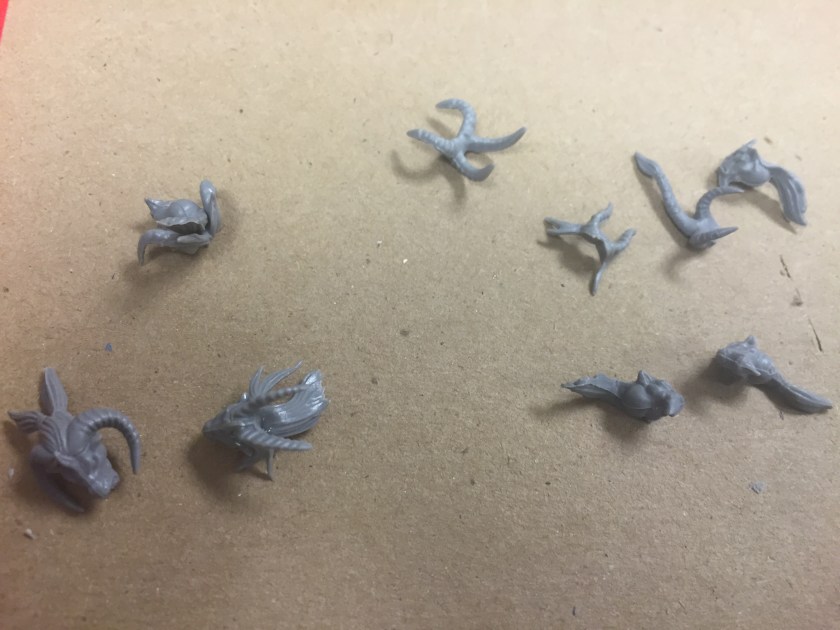
While the spears were drying, I moved on to the heads. For the record, I think this was one of the dumbest moves GW ever did. This kit has a head minus the antlers, then separate antler sets. Getting them to line up perfectly is almost impossible, so there is going to be some slight gaps that will need filling. There is also some significant flash that needs scraping off.
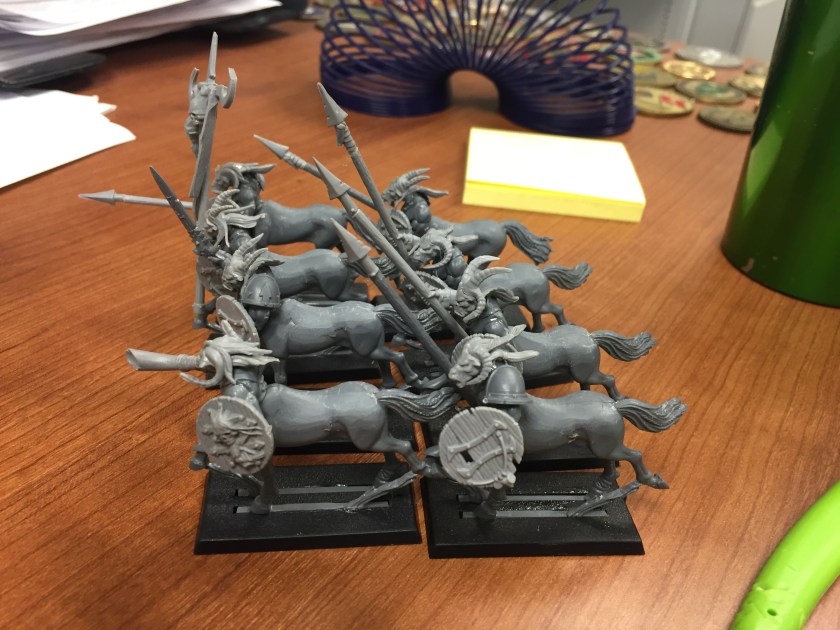
Order of assembly comes next. The lance arm must go on first. If you put the head on first, it may block the proper attachment of the lance arm, yes, I found this out the hard way, learn from my mistake. I also added in some pauldrons to cover the most difficult (read gapped) joins, and again, it was a bitch getting both a pauldron and antlers into the same general spot. Then put on the shield arm, but make sure you dry fit the shield while doing this, or you’ll have to redo it. When the arms are set, you can attach the shields or leave them off for ease of painting. I built 8 of the longmanes to make my regiment. With KoW this is an acceptable model count and the whole regiment will be removed from their bases and glued to a unit base (125mm X 100mm) when the regiment is finished.
For the bray hunters, I used the same basic techniques, except chose weapon arms for the right hand, and the left you need arms further out from the body than the standard shield arm. For the bows, I went again to goblin sprues and nipped the bow off the hands at both ends and glued them to the left hand. They will also receive some goblin quivers.

That’s pretty much it for the centaurs. Once they are cleaned further, and painted, I will post the finished product.
